A hands-on Blender experiment · By GPTblender
I Turned a Floor Plan Into a Full 3D Model Using GPT-6 Astra in Blender — Here's Every Step
I used GPT-6 Astra and Blender to turn a floor plan into a furnished 3D home. Here are the results, the prompts, and how I got there.
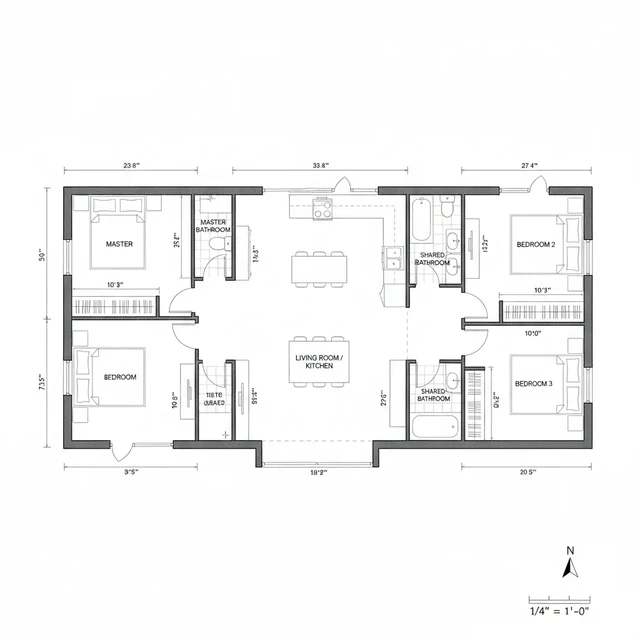
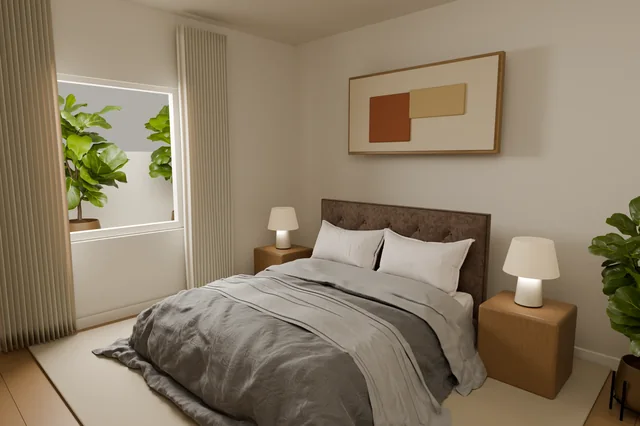
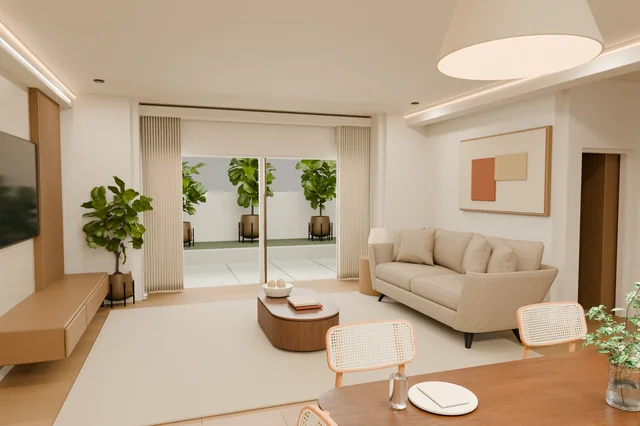
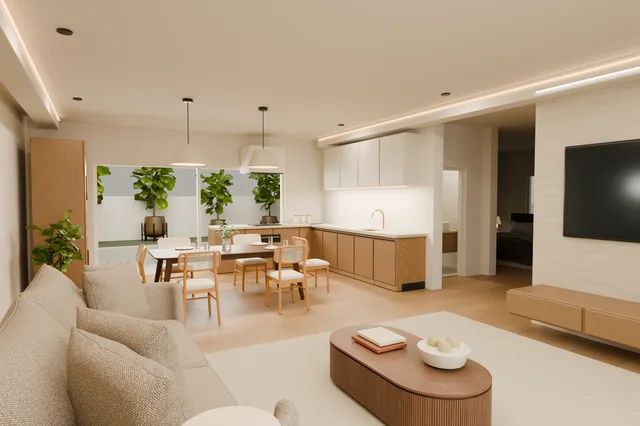
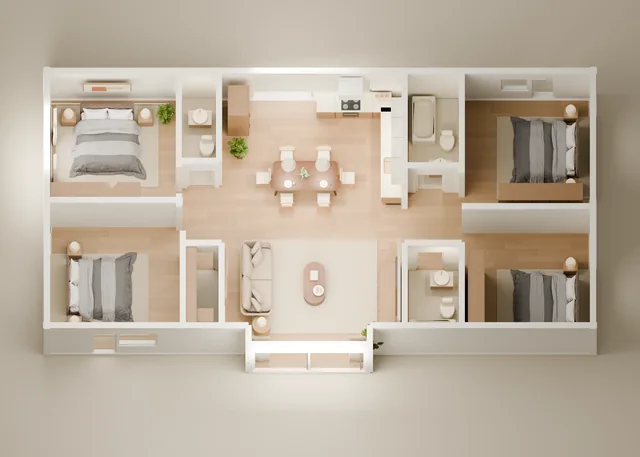
Explore the finished home.
Look around the furnished rooms, compare the model with the original floor plan, and switch between rendered views. The stage controls let you revisit earlier versions of the scene.
Once it loads, drag to rotate the model
The model couldn’t load. Click the button to try again.
GLB model: GitHub
1. Get Blender ready.
To try this with your own floor plan, start with the setup and prompts below. Open a project folder in Codex and select GPT-6 Astra. Put your floor-plan image in that folder so Codex can find it and save its work in the same place. Then send this prompt:
install blender and blender cliBlender has a built-in command-line interface (CLI), which lets Codex run it by typing commands. Ask Codex to run blender --version and check that it returns a version number before you continue. I used Blender 5.2.1 LTS for this recording.
If you want to know how this works, the Blender manual explains how to run Python scripts without opening Blender’s interface.
2. Ask for a warm, modern interior.
Attach your floor-plan image, then send the prompt below. Here’s an English translation of the prompt I used for the BlenderKit version. It assumes BlenderKit is already installed.
Use the Blender CLI to turn this image into a warm, modern home interior. The furniture and lighting should look realistic, and the render should be good enough to present to the homeowner. Use furniture assets from BlenderKit; I have already installed it.I wanted something “good enough to present to the homeowner.” For the version above, I used furniture from BlenderKit and rendered the images with Cycles, Blender’s rendering engine. Here’s how it compares with my earlier attempts.
3. Three versions: the results and how long each took.
I tried three versions: a clay render, a textured render, and a version using BlenderKit assets. Here’s what each looked like and roughly how long it took. Each time is an estimate for that version; the three times shouldn’t be added together.
| Version | Approx. time | What I got |
|---|---|---|
| Clay render | 10 min | A clear room layout with basic furniture |
| Textured render | 50 min | Detailed wood grain, furniture and table settings |
| Render with BlenderKit assets | 30 min | A furnished home with BlenderKit furniture, textures, and lighting |
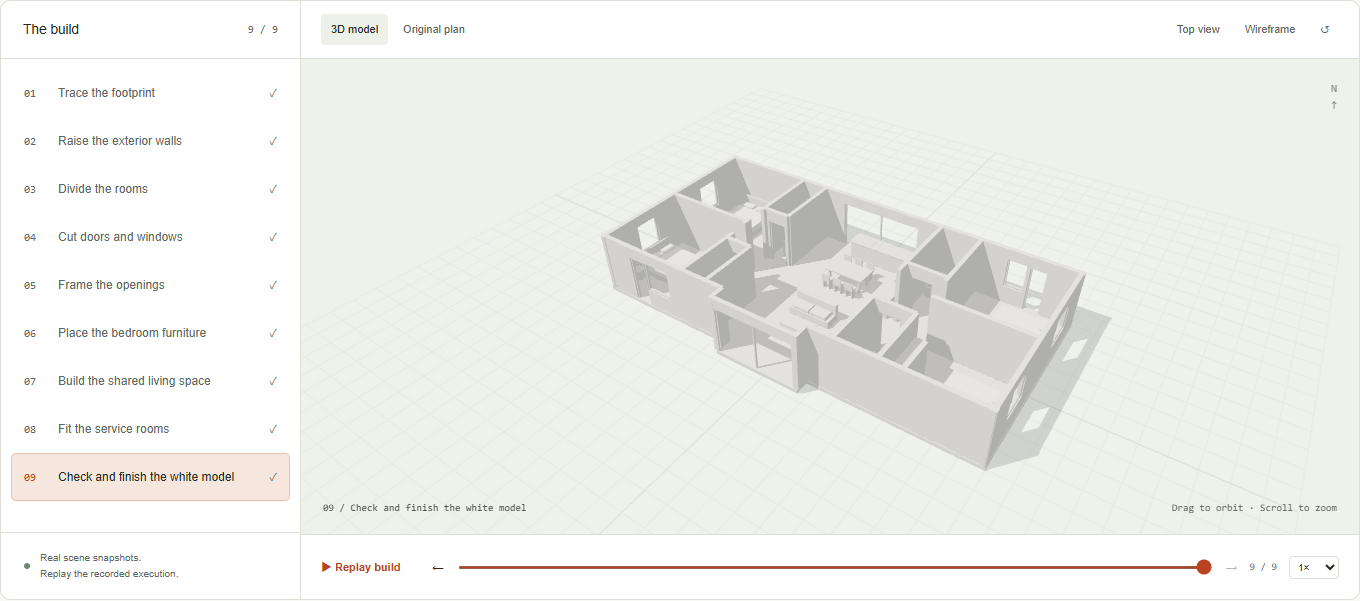
Clay render
Approx. time: 10 minutes.
The clay render is a plain, untextured render. It let me check the room layout, door and window openings, and furniture placement before working on materials and lighting.
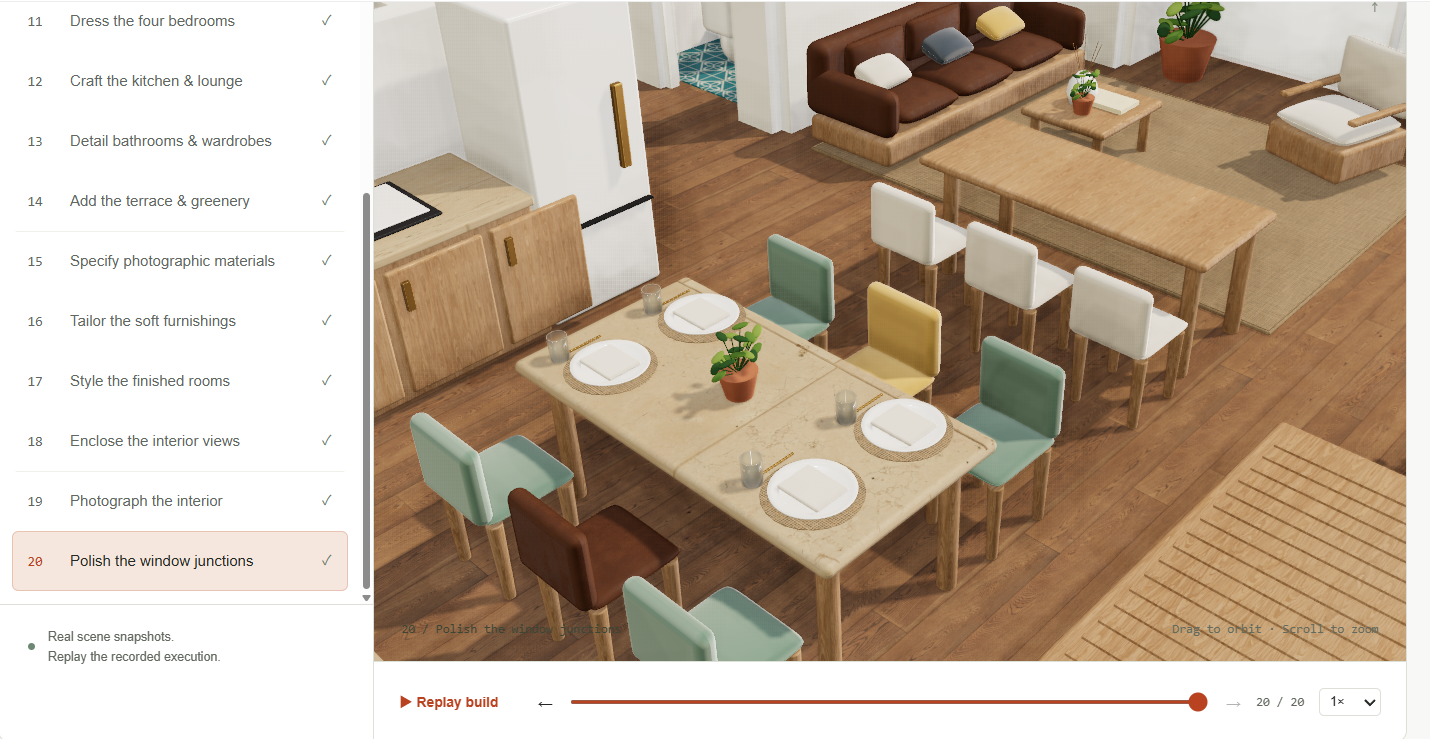
Textured render
Approx. time: 50 minutes.
I added more detail to the wood textures, furniture, and table settings. The result still looked a little cartoon-like. This was an earlier attempt, before I tried BlenderKit.
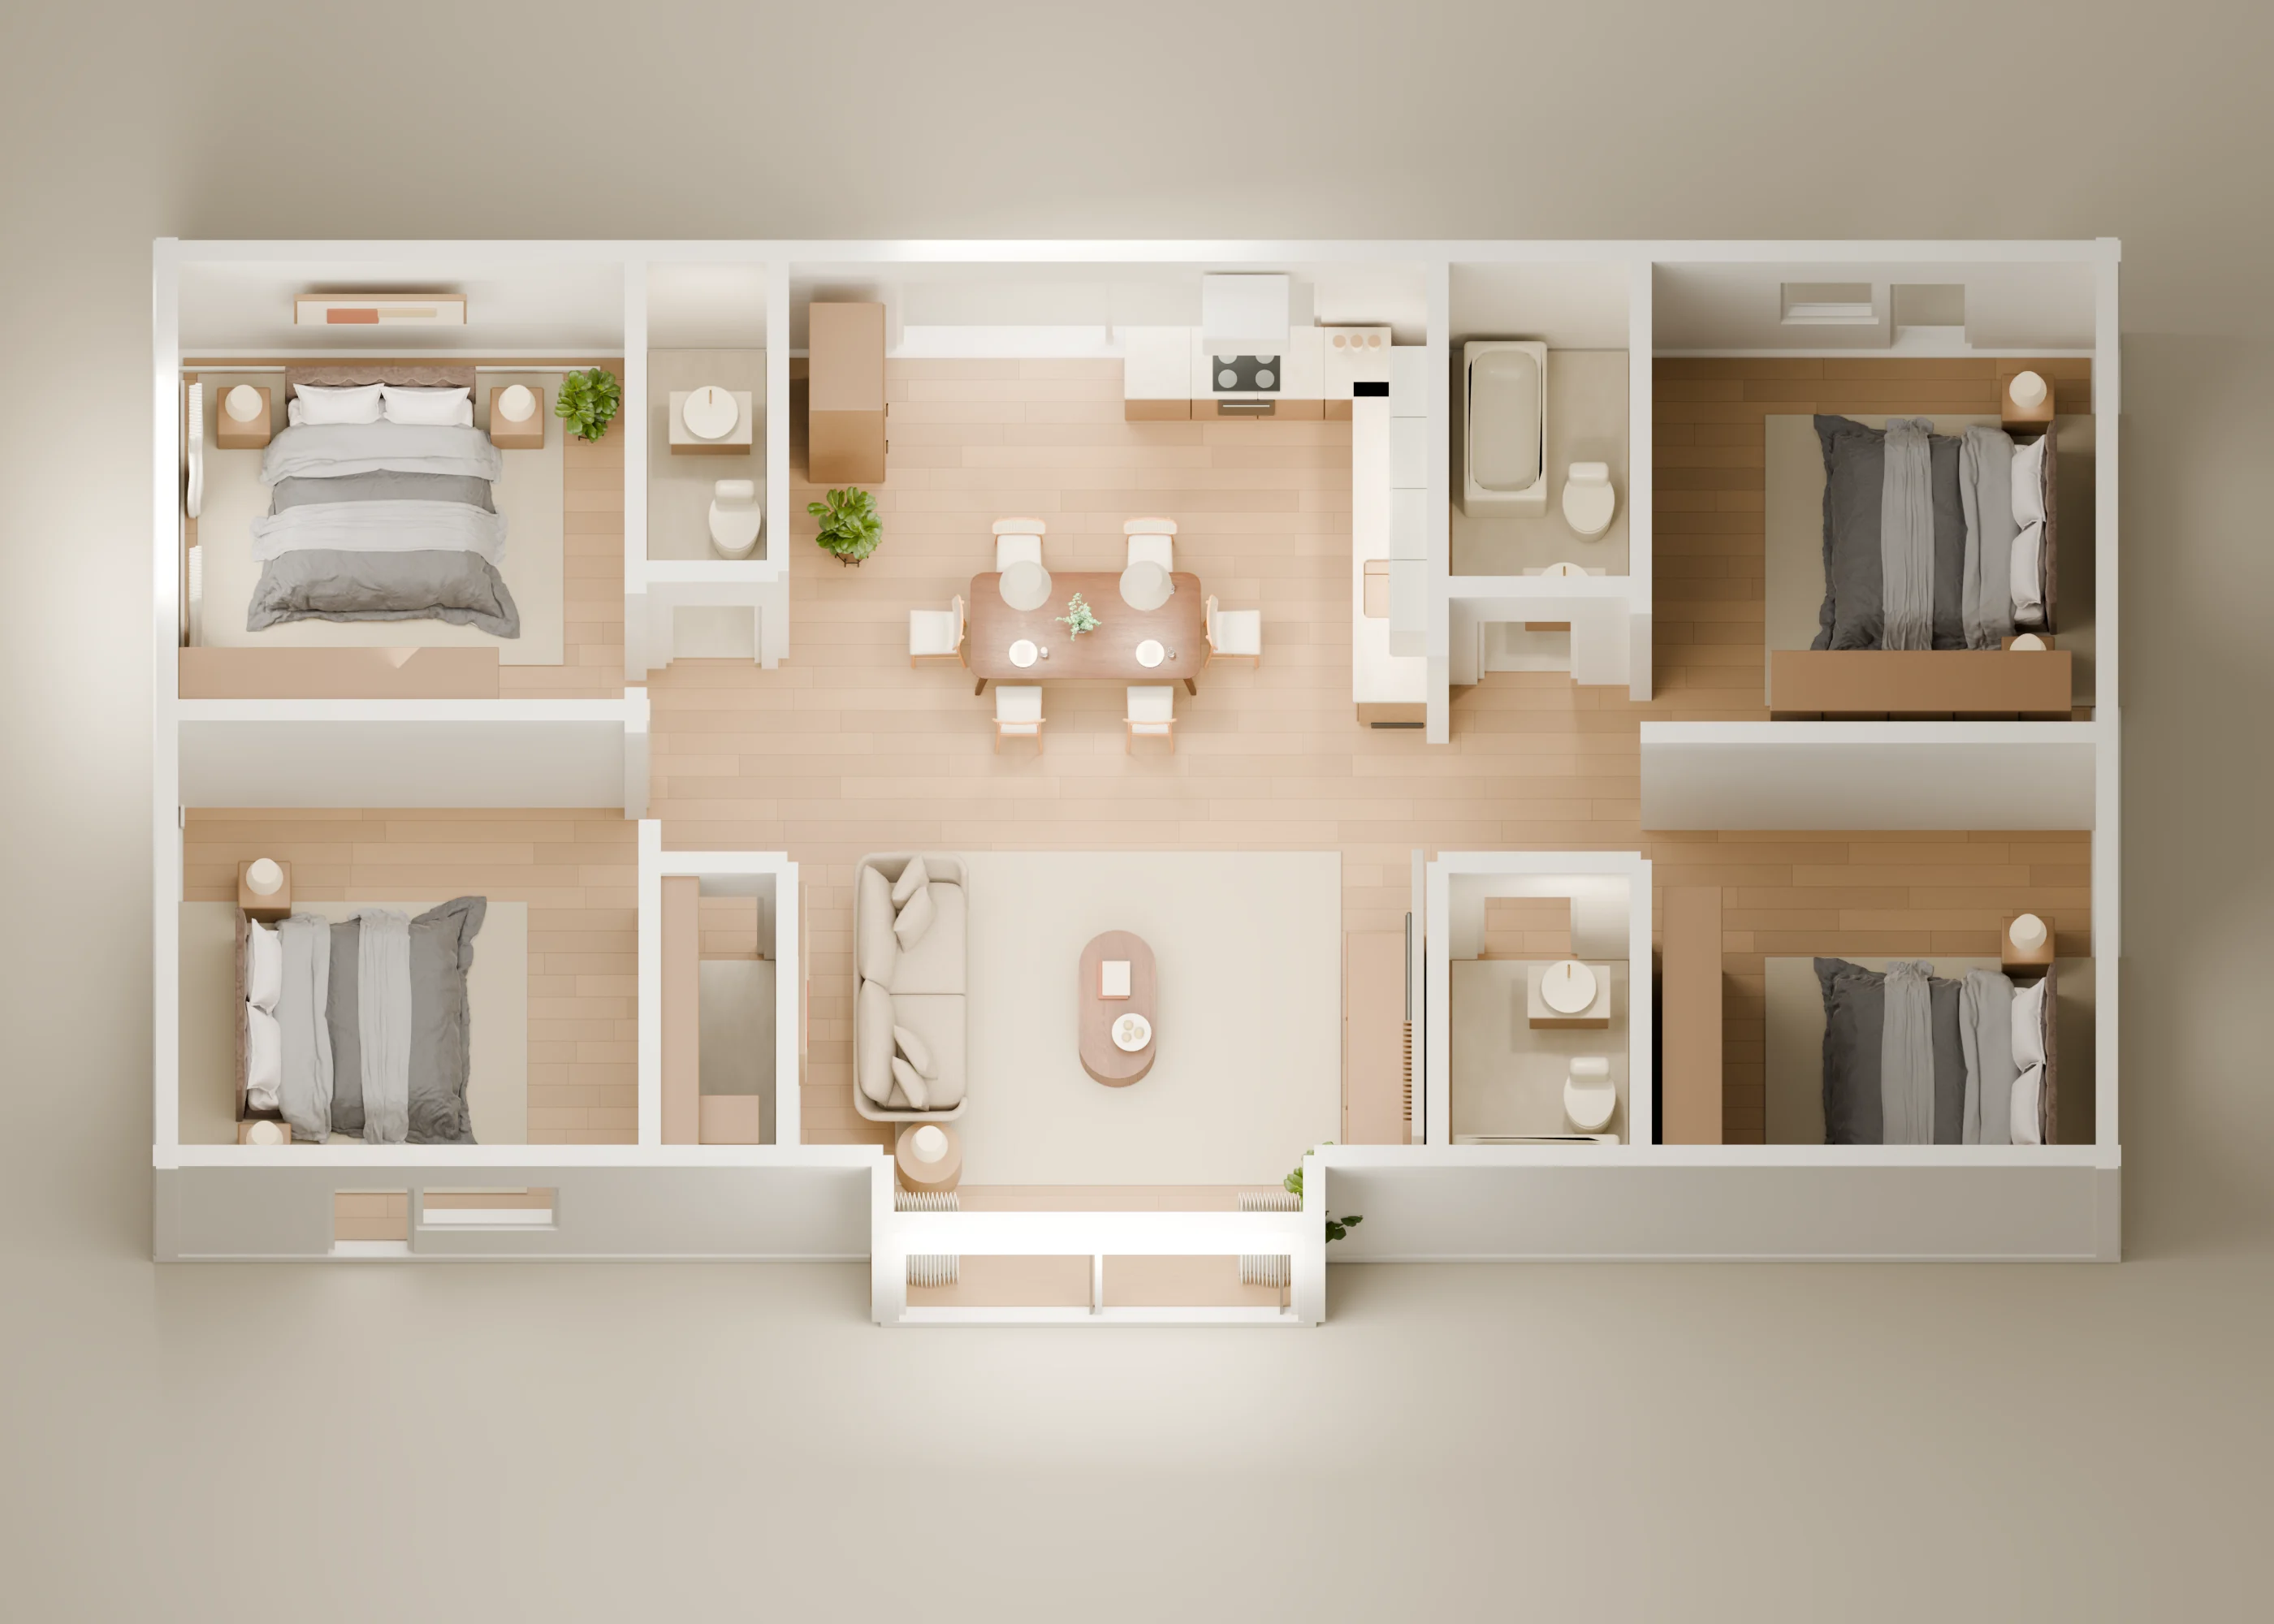
Render with BlenderKit assets
Approx. time: 30 minutes.
This is the version shown in the interactive viewer above. The BlenderKit furniture, materials, and Cycles lighting give the rooms a more realistic appearance than the earlier attempts. The overview below shows all four bedrooms and the central living and dining area.
Ideas for the next version
- Build on ready-made assets. Using well-made furniture models and materials could improve the final renders and speed up the process of putting the scene together.
- Give Astra visual references. Next time, I’d try supplying reference images and examples of the interior style I want, to help Astra make choices about furniture, materials and lighting that better match the look I have in mind.
- Reconstruct an interior from multiple photos. I’d like to explore GPT-6 Astra’s spatial understanding by giving it photos of the same room from different angles, then asking it to reconstruct the space in 3D and render new views.
- Rebuild event spaces from audience photos. Another experiment would be to combine photos taken by different spectators at a performance or sports event, and see whether Astra can piece together the layout of the stage or playing area and the surrounding venue in 3D.
The times above are rough estimates for each version. The replay and render logs cover only parts of the work, so their timings are different.
4. Frequently asked questions.
How do I turn a floor plan into a 3D model?
Give Codex a clear floor plan and at least one known measurement. Ask it to use Blender to build the walls and add doors and windows. Check the layout and dimensions before asking for furniture, materials, and lighting. Review the results along the way so you can catch mistakes early.
What app can I use to turn my floor plans into 3D models?
I used Blender for the 3D model and rendered images, with Codex running GPT-6 Astra to write and run the Blender scripts. You provide the floor plan, describe the look you want, and check the results. You can keep editing the model in Blender afterward.
More GPT-6 Astra Blender demos
See what other people have made with these tools in our architecture roundup.